 Project 5
Project 5: Cover Photos
The purpose of this project is to make a program that processes a list defining a collage and builds the resulting image. The collage list information can specify if the program should apply an effect and/or an alpha blend to each image.
Here is the reference guide to the Zelle graphics package.
Tasks
For this assignment you're going to create a few new functions. The getImageSize and buildCollage functions should go in your collage.py file and will process the collage list information and build the output image. The placeImageNoBkg function should go in your filter.py file and will be identical to placeImage, except that it will not transfer blue/green screen pixels into the destination image.
- Write a function to compute the background image size
Given the collage list structure we developed, write a function that calculates how big the program needs to make the background Image to hold the collage.
+ (more detail)
The strategy we outline below is to have a variable (rows) that keeps track of the biggest number we see in the collage list that represents the bottom row of an image in the collage. I.e. if we have 2 images and one of them has a y-offset of 100 and is 300 pixels tall, then that image tells us we need at least 400 rows of pixels in our collage. If the second image is at a y-offset of 0 and is 500 pixels tall, then that image tells us we need at least 500 rows of pixels in our collage. Since 500 is bigger than 400, rows gets to be 500. We loop through every image, calcuting this bottom-row number and update the rows variable is the new bottom-row number is bigger than the value rows currently has.
We use an analogous strategy for the columns.
def getImageSize( clist ):
    # assign to the variable rows, 0
    # assign to the variable cols, 0
    # for each item in clist
        # assign to x0 the x offset information in item
        # assign to y0 the y offset information in item
        # assign to src the Image reference (last element in item)
        # assign to dx the offset x0 plus the width of src
        # if dx is greater than cols
            # assign to cols, dx
        # assign to dy the offset y0 plus the height of src
        # if dy is greater than rows
            # assign to rows, dy
    # return a tuple with cols and rows in it
Test out your getImageSize function using the simple collage list above, after reading in the images using your readImages function. The answer should be 600 wide (cols) and 450 high (rows) if you use maine1.ppm and main2.ppm as test images.
Now that you have practice working with the collage information lists, you should be able to write a generic buildCollage program that creates a collage from the information in the list. And this is precisely what you will do in the project.
- Modify the collage list to control background subtraction
Add a new item to the collage list to specify whether the blue/green background should be removed when placing the image into the collage. Therefore, instead of 6 items in each sub-list, there will now be 7. You will need to add another IDX type constant to your set of indexes.
You can use whatever ordering of information you like, but the provided test code assumes that the remove background information is at index 5 and that the Image information will be at index 6.
In the collage.py file, create a function buildCollage, as given below. Unless otherwise specified, each comment is a line of python code in the final function. The indentation of the comments should match the code.
def buildCollage( clist ):
    # assign to (cols, rows) the result of calling getImageSize with clist
    # assign to dst the result of calling graphics.Image with a Point of (0,0) and of size cols and rows
    # for each item in clist
        # assign to x0 the X-offset element of item (i.e. use the IDXXOffset index)
        # assign to y0 the Y-offset element of item
        # assign to operator the filter element of item
        # assign to alpha the alpha element of item
        # assign to noBkg the remove background element of item
        # assign to src the Image element in item

        # use a set of if/elif statements to apply the correct
        # operator to the image (this is several lines of code)

        # call placeImage to put src into dst at location x0, y0 with blend alpha

    # return dst
You can use the function testbuildcollage.py to test your buildCollage function. Read through the test function before you use it. The test function assumes that your build collage knows what to do with the operator strings 'rbswap' and 'original', as we went over in lab.
As always, remember to remove the comments we supply after you have written your code.
- Write a placeImageNoBkg function for handling green screen images
In your filter.py file, create a function placeImageNoBkg that has the same arguments and functionality as placeImage, but does not copy the src pixel into the destination image if the src pixel is part of the background screen. Your function needs to work only for one of the background screens (blue or green). A good extension is to have your function handle both, possibly by adding a parameter.
- Edit your buildCollage function so that it uses the remove background information in the collage list, stored in the noBkg variable, to determine whether to call placeImage or placeImageNoBkg as the last step in the main for loop.
- Build a collage
Make a new python file (e.g. mycollage.py) that contains a single main function. Be sure to put a call to the main function behind a test on __name__.
if __name__ == "__main__":
    main()
The main function should create a collage information list, call readImages, call buildCollage, then write the image to a file. You can use the testbuildcollage.py file as an example. Your collage should use at least four different source images.
The collage should include at least five different sub-images. Some of these can be copies of one of the source images with different effects. The collage should use at least 3 effects, at least one alpha blend (alpha < 1), and at least one blue-screen or green-screen image where the background pixels are not copied into the collage. You can access your photos here
Required image 1 is your first collage.
- Make a cover photo
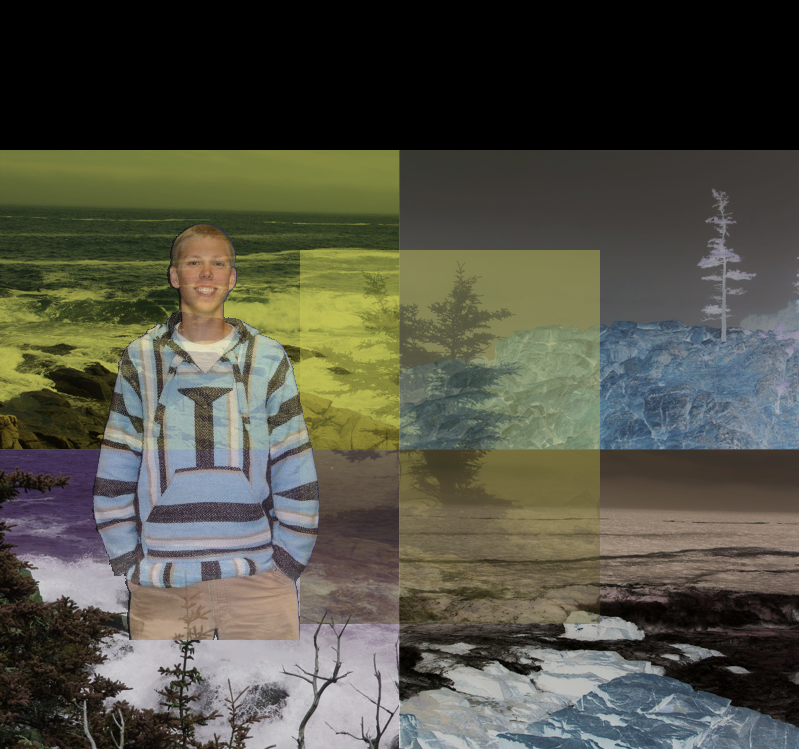
Make a new python file, coverphoto.py, that takes in at least one image filename from the command line. It should build a collage appropriate for a FB cover photo and write it out to a file.
The collage should be about three times as wide as it is tall and have at least three sub-images. You can control the height and width of the collage by appropriate selection and placement of your images, or you can fix the relative height and width and change placeImage to safely handle images that go outside the image boundaries. You can choose random effects for the three images or pick specific effects. The collage should use at least two effects.
Required image 2 is your cover photo collage.
Follow-up Questions
- What is alpha blending?
- What is a list?
- Why is it helpful to use a variable like IDXFilename instead of a number (e.g. 0) when accessing a particular element of a list?
- What does it mean to abstract the data away from a process? Can you give a simple example?
Extensions
Extensions are your opportunity to customize your project, learn something else of interest to you, and improve your grade. The following are some suggested extensions, but you are free to choose your own. Be sure to describe any extensions you complete in your report. Include pictures.
- Create some new image effects you didn't implement in the last project.
- Enable the placeImageNoBkg function to handle both the blue and green screens. You can try to do this automatically (e.g. by checking some part of the image) or by adding a parameter that indicates which kind of background screen is being used.
- Make some additional programs that generate collages with specific geometric arrangements and that take their list of image files from the command line.
- Add additional options to the collage information list, like whether to mirror the image or not, in addition to the other options.
- Create a collage dynamically based on how many images are given on the command line.
- Figure out how to call the proper effect function on each image without using an if/elif control structure. (Ok, this is kind of esoteric, but it's a cool feature of python.)
- Try scaling an image when you put it into the collage. If you want, stick to increasing or decreasing an image by powers of two.
- Uber-extension: put the collage information in a text file. Have your program read the text file (given as a command-line argument), parse the information, and build the collage. For this to be an uber-extension, you can't write the text file as python code.
Submit your code
Turn in your code (all files ending with .py) by putting it in a directory in the Courses server. On the Courses server, you should have access to a directory called CS151, and within that, a directory with your user name. Within this directory is a directory named private. Files that you put into that private directory you can edit, read, and write, and the professor can edit, read, and write, but no one else. To hand in your code and other materials, create a new directory, such as project1, and then copy your code into the project directory for that week. Please submit only code that you want to be graded.
When submitting your code, double check the following.
- Is your name at the top of each code file?
- Does every function have a comment or docstring specifying what it does?
- Is your handin project directory inside your Private folder on Courses?
Write Your Project Report
If you haven't already made a new page for this report on the wiki, then make one now (Log into the wiki, goto your Personal space by selecting "Personal Space" on the menu under the Person icon, then make the page using the "Create" button. Put the label cs151f19project5 in the label field on the bottom of the page. But give the page a meaningful title.
Your intended audience for your report is your peers not in the class. From week to week you can assume your audience has read your prior reports. Your goal should be to be able to use it to explain to friends what you accomplished in this project and to give them a sense of how you did it.
Your project report should contain the following elements.
-
A brief summary of the project, in your own words. This should be no more than a few sentences. Give the reader context and identify the key purpose of the assignment.
Writing an effective abstract is an important skill. Consider the following questions while writing it.
- Does it describe the CS concepts of the project (e.g. writing well-organized and efficient code)?
- Does it describe the specific project application?
- Does it describe your the solution or how it was developed (e.g. what code did you write/circuits did you build)?
- Does it describe the results or outputs (e.g. did your code work as expected)?
- Is it concise?
- Are all of the terms well-defined?
- Does it read logically and in the proper order?
- A description of your solution to the tasks, including images you created (including the required images mentioned above). This should be a description of the form and functionality of your final code. Note any unique computational solutions you developed or any insights you gained from your code's output.
- A description of any extensions you undertook, including text output or images demonstrating those extensions. If you added any modules, functions, or other design components, note their structure and the algorithms you used.
- The answers to any follow-up questions (there will be 3-4 for each project).
- A brief description (1-3 sentences) of what you learned. Think about the answer to this question in terms of the stated purpose of the project. What are some specific things you had to learn or discover in order to complete the project?
- A list of people you worked with, including TAs and professors. Include in that list anyone whose code you may have seen, such as those of friends who have taken the course in a previous semester.
- Put the label cs151f19project5 on your wiki page.